
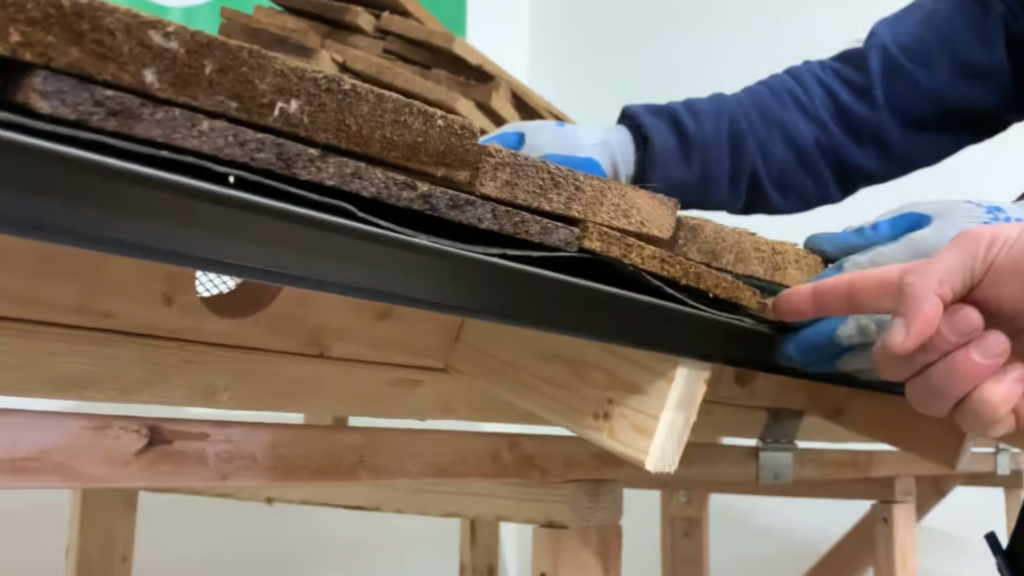
Wood shake roofing is a popular choice for homeowners who want to combine natural beauty, character, and dependable protection. Unlike manufactured roofing materials, wood shakes provide a distinctive appearance that can complement traditional, rustic, and contemporary homes. However, installing a wood shake roof requires careful planning, proper preparation, and experienced workmanship. Understanding the wood shake installation process helps homeowners know what to expect before their roofing project begins.
In this guide, we’ll explain the wood shake installation process, discuss each major stage of a typical project, and review factors that can affect the installation timeline.
Learning about the wood shake installation process allows homeowners to prepare for their project and make informed decisions about their roofing investment.
Why Proper Wood Shake Installation Matters
Wood shakes require careful installation because natural wood responds to moisture, temperature changes, sunlight, and weather exposure.
A professional wood shake installation process helps:
- Protect the home from water intrusion
• Improve roof durability
• Promote proper ventilation
• Reduce premature deterioration
• Improve weather resistance
• Maintain the roof’s appearance
• Extend roof lifespan
Proper workmanship is essential for getting the best performance from a wood shake roofing system.
Initial Roof Inspection
The wood shake installation process begins with a detailed inspection of the existing roofing system.
A professional roofing contractor evaluates:
- Existing shingles or shakes
• Roof decking
• Flashing
• Gutters
• Ventilation
• Roof penetrations
• Structural conditions
This inspection helps identify potential problems before installation begins.
Choosing the Right Wood Shakes
Selecting appropriate materials is an important part of the wood shake installation process.
Homeowners may consider:
- Cedar shakes
• Treated wood shakes
• Fire-resistant wood shakes
• Premium-grade shakes
• Different shake thicknesses and textures
The right material depends on the home’s design, local weather conditions, maintenance expectations, and budget.
Project Planning and Scheduling
Before work begins, the contractor develops a plan for the wood shake installation process.
Planning typically includes:
- Ordering materials
• Scheduling the installation crew
• Preparing equipment
• Reviewing weather conditions
• Establishing a project timeline
Proper planning helps reduce unnecessary delays and keeps the project organized.
Removing the Existing Roof
If the project involves a complete roof replacement, the existing roofing materials are removed.
During this stage of the wood shake installation process, the roofing crew carefully removes:
- Old shingles or shakes
• Underlayment
• Damaged flashing
• Deteriorated roofing components
Inspecting and Repairing the Roof Deck
Once the existing roof is removed, the decking is inspected.
This part of the wood shake installation process is critical because damaged decking can compromise the new roof.
Contractors may identify:
- Rotting wood
• Water damage
• Soft decking
• Cracked panels
• Structural weaknesses
Damaged sections should be repaired or replaced before the new roofing materials are installed.
Installing Underlayment
A quality underlayment provides an additional layer of protection beneath the wood shakes.
During the wood shake installation process, the underlayment helps:
- Reduce water intrusion
• Protect the decking
• Improve weather resistance
• Provide additional moisture protection
Proper installation of the underlayment is an important part of creating a reliable roofing system.
Installing Flashing
Flashing is installed around areas where water infiltration is more likely.
The wood shake installation process includes careful flashing around:
- Chimneys
• Skylights
• Roof valleys
• Plumbing vents
• Wall intersections
Proper flashing helps direct water away from vulnerable areas and reduces the risk of leaks.
Installing the Wood Shakes
The main roofing installation begins once the roof deck, underlayment, and flashing are prepared.
During this stage of the wood shake installation process, each shake is carefully positioned and secured.
Installers pay attention to:
- Shake spacing
• Alignment
• Fastener placement
• Exposure
• Course layout
Consistent installation creates a uniform appearance while allowing the wood to perform properly.
Installing Ridge and Hip Details
Special attention is required at roof ridges and hips.
These areas are completed during the later stages of the wood shake installation process.
Proper ridge and hip installation helps:
- Protect vulnerable roof edges
• Improve weather resistance
• Complete the roof’s appearance
• Support proper ventilation
Depending on the roofing design, specialized wood shake components may be used.
Completing Roof Ventilation
Proper ventilation is essential for wood roofing.
An effective wood shake installation process incorporates appropriate intake and exhaust ventilation.
Ventilation helps:
- Reduce attic moisture
• Control temperatures
• Protect the roof deck
• Reduce condensation
• Extend roofing lifespan
Balanced ventilation supports long-term roof performance.
Final Inspection
After the shakes have been installed, the roofing contractor performs a final inspection.
The final stage of the wood shake installation process may include checking:
- Shake alignment
• Fasteners
• Flashing
• Ridge areas
• Roof penetrations
• Ventilation components
Any necessary corrections should be completed before the project is considered finished.
How Long Does Wood Shake Installation Take?
The timeline for the wood shake installation process depends on several factors.
These may include:
- Roof size
• Roof pitch
• Roof complexity
• Number of roof penetrations
• Existing decking conditions
• Weather conditions
• Crew size
A straightforward residential project may take several days, while larger or more complicated roofs can require additional time.
Factors That Can Delay Installation
Homeowners should understand that unexpected conditions can affect the wood shake installation process.
Potential delays include:
- Severe weather
• Hidden roof damage
• Material delivery issues
• Structural repairs
• Complex roof designs
• Difficult roof access
Experienced contractors plan for these possibilities and communicate changes to homeowners throughout the project.
Weather Considerations
Weather can have a significant effect on wood shake roofing installation.
Rain, high winds, or extreme temperatures can interrupt the wood shake installation process.
Contractors may adjust schedules to ensure that:
- Roofing materials remain protected
• Underlayment stays dry
• Installation conditions remain safe
• Sealing and fastening are completed correctly
Waiting for suitable conditions helps protect the quality of the finished roof.
Maintaining a New Wood Shake Roof
After completing the wood shake installation process, regular maintenance is essential.
Homeowners should:
- Schedule regular roof inspections
• Remove leaves and debris
• Keep gutters clean
• Trim overhanging tree branches
• Monitor for moss and algae
• Replace damaged shakes promptly
Consistent maintenance helps preserve the roof’s appearance and performance.
Why Choose Kerrigan Roofing and Restoration
Homeowners trust Kerrigan Roofing and Restoration for professional roofing installation and restoration services.
We provide:
- Comprehensive roof inspections
• Professional wood shake installation
• Quality roofing materials
• Expert flashing installation
• Proper ventilation solutions
• Reliable customer service
Our experienced team follows a careful wood shake installation process designed to provide homeowners with dependable protection and long-term value.
Final Thoughts
Understanding the wood shake installation process helps homeowners prepare for a roofing project and understand why each stage matters. From the initial inspection and material selection to roof preparation, shake installation, flashing, ventilation, and final inspection, every step contributes to the performance and longevity of the finished roof.
With quality materials, professional installation, and regular maintenance, a wood shake roof can provide lasting protection while adding natural beauty and character to your home.

SCHEDULE APPOINTMENT
"(Required)" indicates required fields